Moisture Reduction: NZ Tiny Home Maintenance
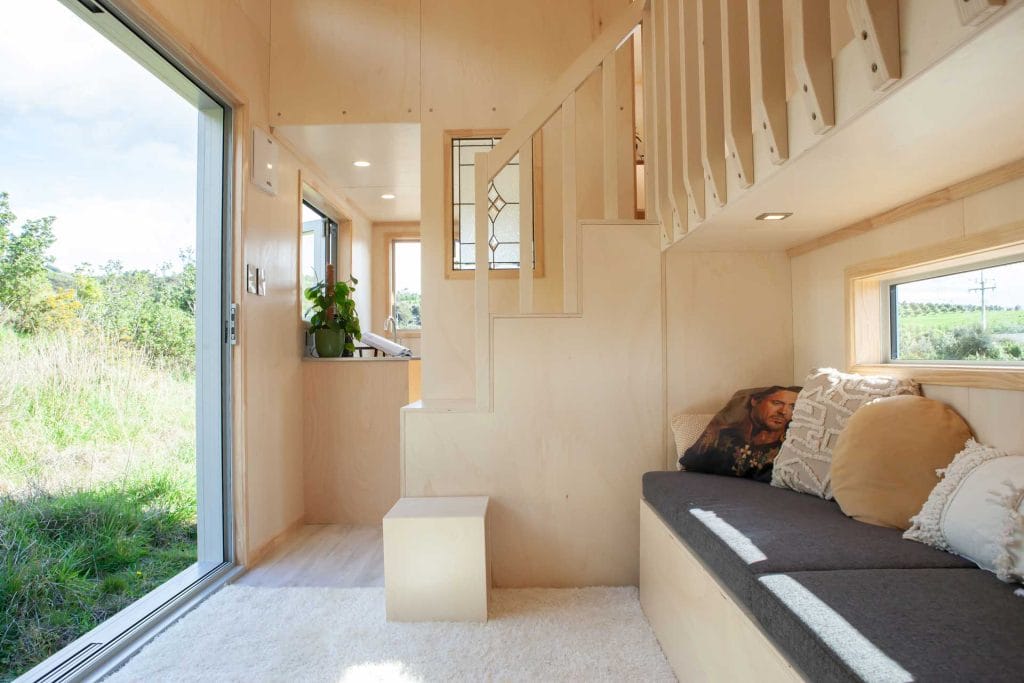
Even in the coziest of homes, temperature swings are an everyday battle – a dance between the sun's warmth and the chill of the changing seasons.
But what about tiny houses? For many homeowners, these small dwellings provide a cozy and eco-friendly living space. However, they come with their unique set of challenges, one of which is controlling moisture in such a small space.
In this article, we explore the essential aspects of moisture reduction in tiny homes, focusing on maintenance strategies and preventative measures, especially when winter knocks on the door.
Understanding Moisture in Tiny Homes
The Impact of Moisture
Dampness can be a persistent issue in tiny homes, causing structural damage and health concerns such as allergies and viral conditions for people and pets. It’s essential to grasp the consequences of dampness before delving into its reduction. Continued dampness can lead to wood rot, paint flaking and will also make it much harder to heat your home.
Common Causes
Identifying the sources of dampness, such as poor ventilation, leaks, or humidity, is the first step towards addressing the issue. (Check out the results of the 2015 House Condition Survey conducted by BRANZ for some interesting insights).
1. Inadequate Ventilation
Tiny homes often have limited windows and space, which can impede proper ventilation. Without adequate airflow, moisture accumulates, leading to dampness and potential mold growth.
2. Condensation
Condensation occurs when warm, moist air meets cold surfaces, like windows and walls. In tiny homes, where space is limited, this phenomenon can be more pronounced.
3. Insufficient Insulation
Lack of insulation or improper insulation can result in temperature fluctuations, leading to moisture buildup within the walls and ceilings.
4. Location Matters
Where you park your tiny home matters. If it’s in a damp, shaded area, or near water bodies, the risk of dampness increases. Look for places that have ample sunlight and good drainage.
Prevention and Maintenance: 10 Practical Solutions to Reduce Moisture in Your Tiny Home
Here are some actionable steps and considerations when it comes to minimizing dampness. If all these points are addressed then you’re well on your way to keeping your home warm, safe and dry.
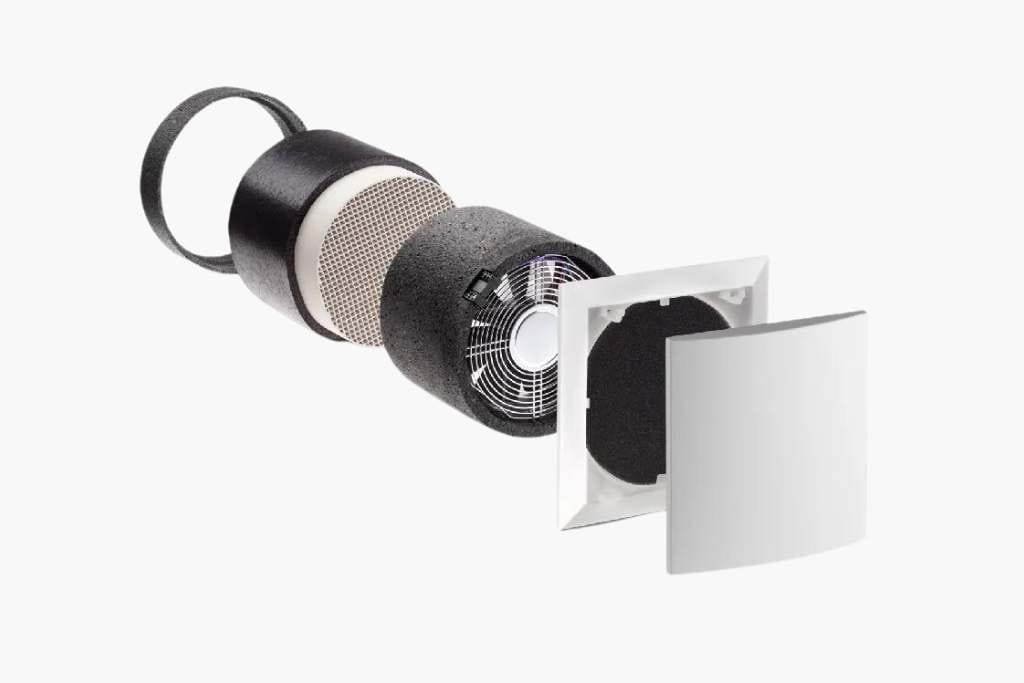
1. Proper Ventilation
Ensuring adequate airflow within your tiny home can significantly reduce dampness. Making sure you have and extractor fan in your bathroom and a range hood in your kitchen are a good start. Keeping windows open for airflow is great in the warmer months and investing in a ventilation unit such as the Decentralised Balanced Ventilation Systems by Solution Air can be a good option.
2. Insulation and Sealant
Properly sealing gaps and insulating your tiny home is crucial in preventing moisture intrusion. Ensure all insulation is above NZ building code best practices and applied to walls, ceiling and flooring where possible. This is a critical step in ensuring ambient air temperature within the Tiny House is stable, minimizing fluctuation.
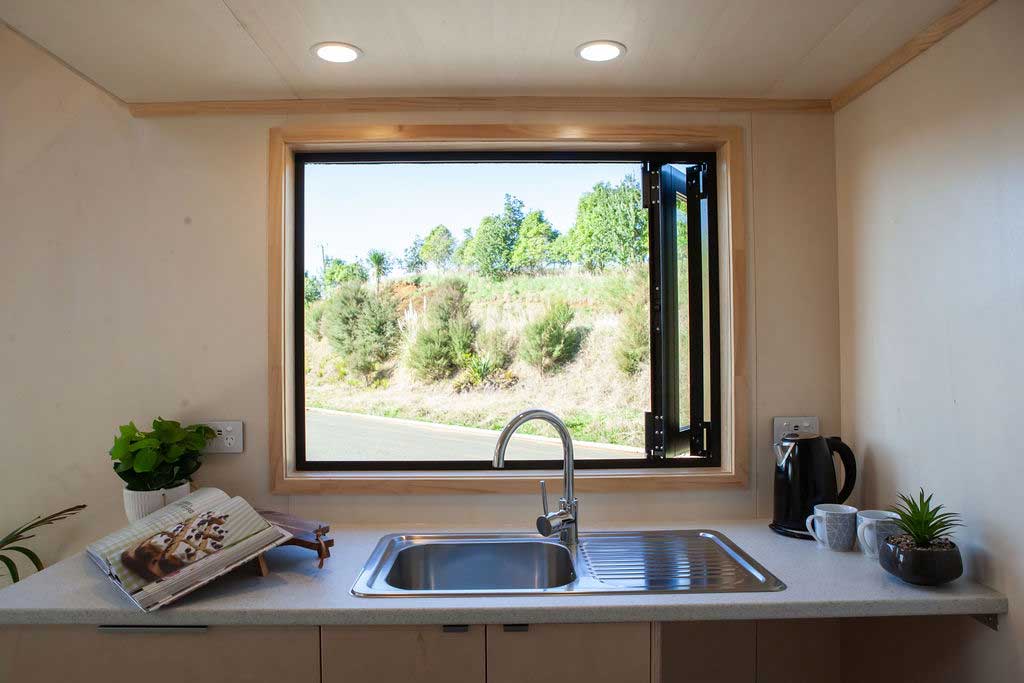
3. Windows and Condensation
The more windows you have, the more opportunities you have for ventilating the air in your tiny home. This is especially important in the kitchen and bathroom areas where condensation usually builds up.
Double-pane windows will form less condensation on them so try to use double-pane windows whenever possible.

4. Heating & Air-Conditioning
A properly sized AC system will draw moisture out of the air so it is good to have an air conditioner running on hot and humid summer days.
Wood burners and electric heaters also work well to dry the air out. Electric heaters are great for reducing moisture and can sometimes do too good of a job at it.
5. Use Dehumidifiers
Using a conventional dehumidifier in a small home provides the advantage of effectively removing excess moisture from the air. We highly recommend using a dehumidifier, especially if you happen to dry clothes inside, or are using a dishwasher and washing machine.
6. Mindful Showering
In an ideal world, you’ll have an external shower which will drastically reduce moisture inside your tiny house. There are some beautiful designs and it’s a special experience to shower ‘under the stars.’
However, we know this isn’t always possible and sometimes you just want to shower inside the comfort of your own home.
When showering inside, make sure you turn on the vent inside your bathroom and open the window up as much as possible. This will help let out steam before it gets a chance to spread to the rest of your home.
Also, consider taking shorter and colder showers. Shorter showers create less steam which in turn reduces the chances that you’ll let moisture into the rest of your tiny home.

7. Hang Wet Clothes Outside
When you dry your clothes inside your tiny home, the water vapor released circulates inside your home adding to the moisture. As much as possible, try to dry clothes outside on sunny days.
If it is raining outside, consider delaying your laundry or consider getting a covered tent or canopy outside where you can dry clothes. If you must dry clothes inside, then make sure vents are on, or you’re using a dehumidifier.
8. Dishwashers & Laundry Appliances
Dishwashers and laundry appliances are highly convenient but they create lots of humidity whilst taking up valuable space and weight. Furthermore, these appliances are costly and dramatically increase your tiny home’s energy needs.
Consider hanging your laundry out to dry outside instead of using a drier. Do dishes by hand and use all the extra space you have to store other items that don’t add to your humidity levels.
9. Measure Humidity Levels
You won’t know exactly how humid your tiny home is until you start measuring the humidity levels. The best way to do this is with a hydrometer.
Hydrometers come in many forms and you can spend hundreds of dollars on a fancy hydrometer or just a few dollars for a cheaper one. As long as it works the purpose is served. Keep it within the recommended range (usually between 30% and 50%) to prevent excess moisture.
10. Regular Inspections
Regularly inspecting your tiny home for leaks and signs of dampness is essential for early detection and timely intervention. Consistent maintenance not only reduces dampness but also prolongs the lifespan of your tiny home.

Professional Help
When to Call an Expert
Sometimes, dampness issues may require professional intervention. It’s best to get some professional help early on to find the causes and help create a pathway to eliminating mold and dampness in your home.
To Wrap Up
Dampness in tiny homes is a challenge that can be mitigated with the right strategies and considerations. By addressing the causes of dampness and implementing practical solutions, you can ensure that your tiny abode remains a cozy, healthy, and comfortable haven for years to come. Remember, a dry tiny home is a happy tiny home!

FAQs
How can I tell if my tiny home has a dampness problem?
Look for signs like mold growth, musty odors, and condensation on windows.
Can I use natural remedies to reduce dampness in my tiny home?
Yes, methods like using bamboo charcoal or silica gel can help absorb moisture.
Are there specific ventilation systems designed for tiny homes?
Yes, some ventilation systems are compact and tailored for small living spaces.
What should I do if I find a leak in my tiny home?
Address it immediately by sealing the leak and inspecting for any resulting damage.
Is dampness in tiny homes a common issue in New Zealand?
Yes, due to the country’s humid climate, dampness can be a prevalent problem, making routine maintenance essential.
Incorporating these damp reduction strategies into your tiny home maintenance routine will help you create a comfortable and healthy living space, ensuring your tiny home remains a cozy haven for years to come.